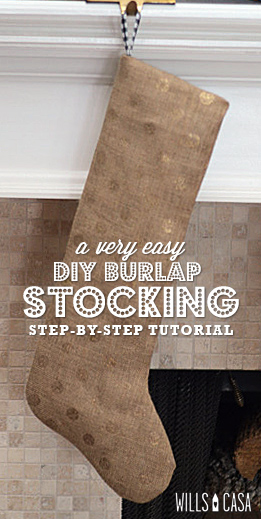
The Christmas mantel is finished. Thus it is time for another sewing tutorial from Wills Casa. This time it’s all about sewing a burlap stocking. It is a slightly different style from Michelle’s, so it’s okay to keep reading!
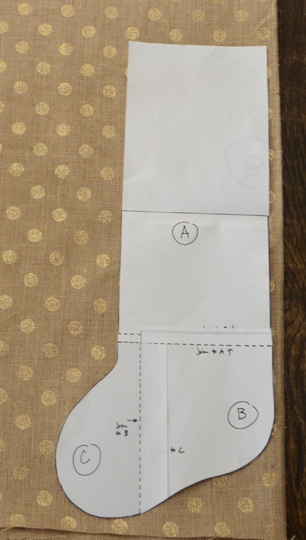
I used the Design*Sponge template, but I wanted a longer stockings. (Longer stocking = more presents) I lengthened the pattern by adding a piece of paper to the top. It added 11″, but you can continue adding length to get a ridiculously long stocking. I did think about it.
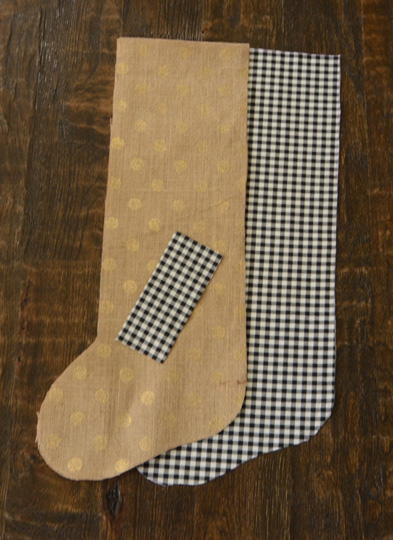
Use your template to cut your outer fabric and the lining. You will also need a 7″ x 3″ strip for your hanging tab. Pin your fabric with the right sides together.

Let me explain a little something about burlap. (If you are using this tutorial to sew a normal fabric stocking, feel free to ignore this and sew your outer piece with a straight stitch.) Most burlap fabrics have a loose weave. You will want to sew it with a overcast or joining stitch. Sounds fancy right? It’s just a stitch that joins and finishes seams. I selected 16 (see lovely highlighted picture above) on my machine. The zig zag will catch more of the loose weave and hold it together better.
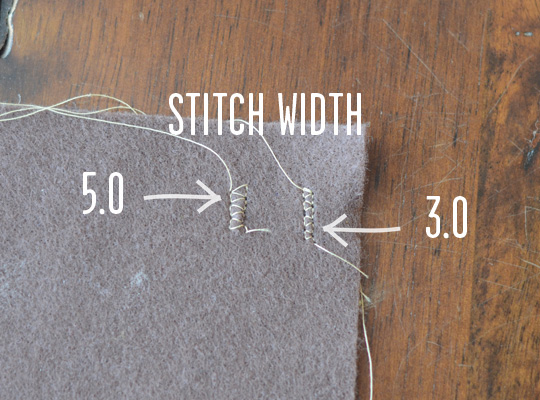
I also adjusted my stitch width for the same reason. A smaller stitch width will hold your seam tighter keeping that loose weave from unraveling your handy work. I used a 3.0 even though my machine defaulted to the 5.0 stitch width. If you plan on washing burlap, sew it at the lowest stitch width possible.
Once your machine is set to a joining stitch with a 3.0 or lower stitch width, sew your outer piece right sides together with a 1/4″ seam allowance.
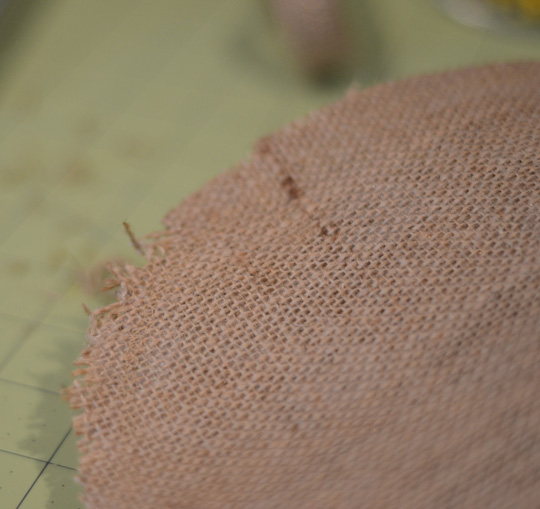
Clip your seam allowance around the corners. This will help it lay flatter and curve better once it’s turned right side out. You can see how the burlap frays terribly once it is cut. Don’t worry you used a strong stitch combo to keep it from fraying past your stitch. However be careful not to cut your stitching.
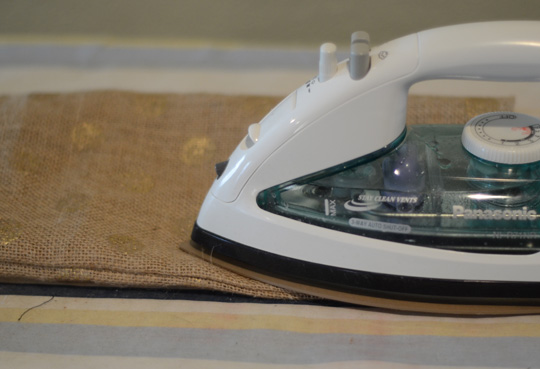
Turn your outer piece right side out and press it. Don’t be afraid to use high heat and steam on burlap.
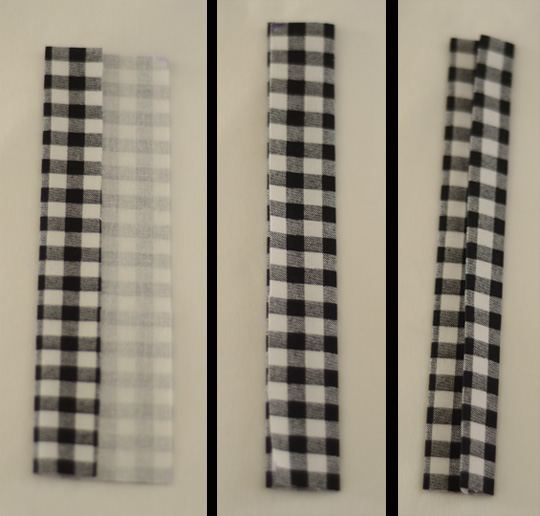
Take your 7″ x 3″ strip for your hanging tab. Fold it in thirds (1 inch from the left, 1 inch from the right). Then take the last fold and press it under. Sew right down the middle. Hanging tab done.

Fold your hanging tab in half with the right side out. Attach it to the right side of your outer fabric along the seam line. The raw edges will line up at your stocking opening.
I used the joining stitch here as well. Even if you aren’t using burlap, it’s a good idea to attach the tab with a stronger stitch. That way Santa can load up your stocking without fear of ripping it off your mantel.
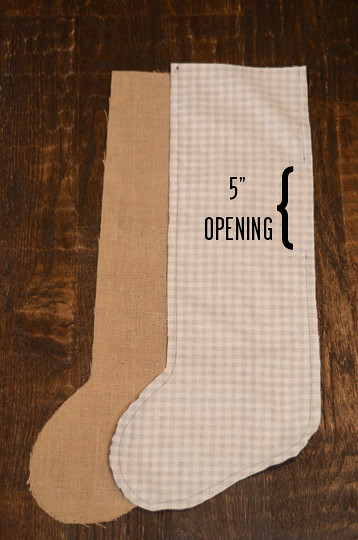
Sew your lining piece right sides together with a straight stitch. Leave a 5″ opening, so you can turn your stocking pieces once you attach them. Trim the seam allowance all the way around the lining. You don’t need to clip the corners like you did on your outer piece.
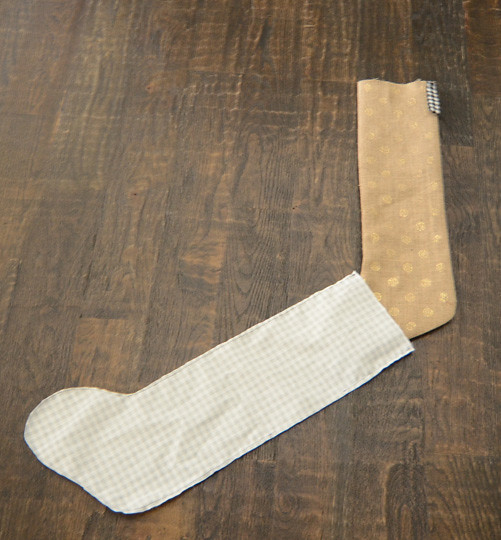
Here’s a mid live-action shot of slipping your outer stocking (right side out with hanging tab attached) into your lining (right sides together).
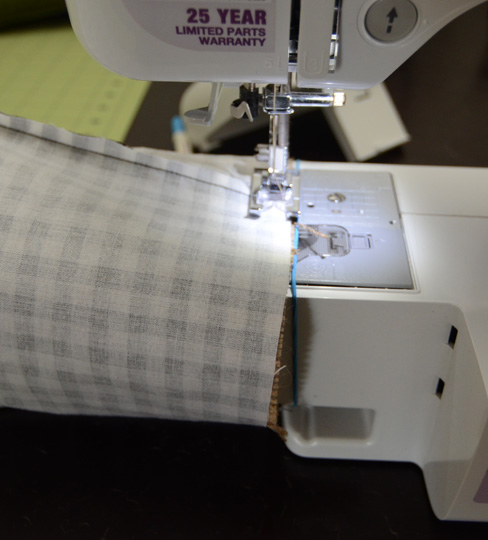
Sew your pieces together at your stocking opening. I used the joining stitch again here. (I also didn’t pin. Burlap doesn’t let your lining move around too much anyway.)
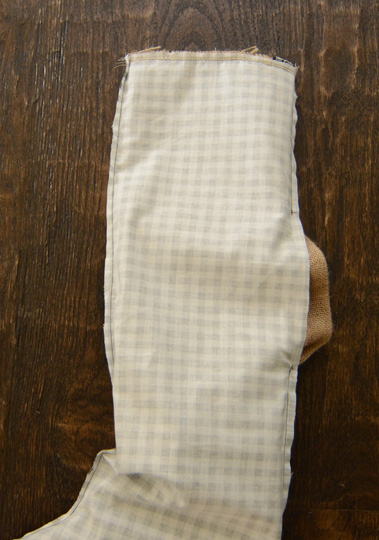
Pull your outer piece out the 5″ opening of your lining. Then make sure all the lining is turned right side out as well.
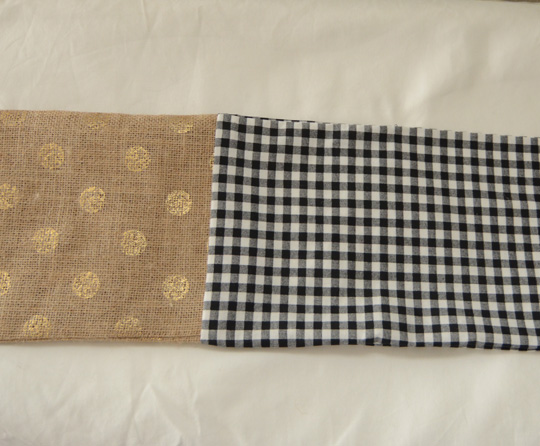
Press the seam of your outer piece and lining. Sew the 5″ opening in your lining closed.
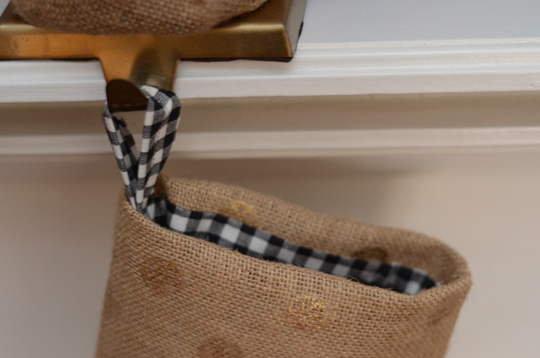
Fold the lining into your stocking. Press around the top edge.
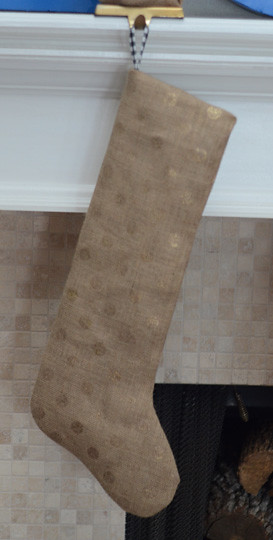
Hang your stocking! That’s it. I made 4 and once you have all your pieces cut it takes about 30 minutes per stocking to complete.
Also, make sure to check out the other Dare to DIY projects at Decor and the Dog, Maybe Matilda, Newly Woodwards, and Two Twenty One.


burlap and gold, burlap and gold, everyone wishes for burlap and gold! 😉 looks so pretty! i truly love the combination!
Thanks! Gold has pretty much been at the forefront around here lately. It’s just so easy to incorporate! I love it with the burlap. It was just a double win that it’s polka dotted!
These turned out so cute! I love the dots on the burlap and the buffalo check is such an unexpected pairing. I love it.
Awesome job again this week! Thanks so much for linking up to Dare to DIY every week. I have really enjoyed seeing your projects.
Thank you! That is so sweet! I can’t believe it’s been 4 weeks worth of projects already! It was a lot of fun! Thanks for hosting!
So are you completely standing by your comment that you are NOT a sewing/crafting blog… cause there is sewing going on here – again I love it. And I am noticing the polka dots on your stockings. Fabulous!
LOL yes I will stick by that, but there has been some serious sewing happening around here. I’ve reorganized my craft area, so that should keep me from attempting anything else! I will share 1 more sewing projects though. 😉
Although I have thought of 3 things to sew for Ramona while we were out…
Can’t wait to see what else you have been up to. In the sewing department and otherwise. And re-organizing your craft area? That sounds like a before and after blog post to me… is that coming too? I hope so. Love organizing….
Oh no I just did it on a whim because our house was going to show. I had a disaster of a craft area as you can imagine! It wasn’t a complete organization overhaul, but there was lots of folding and moving fabrics around!
Love!!! Burlap and gold is the best combination ever. Did you buy it like that or stamp it yourself?
I bought it! Cassie (Hi SugarPlum) had it on her Thanksgiving table, and I went out to buy some immediately! It’s even more beautiful in person!
Pingback: Make and Stuff a Stocking for those in need: 3 Stocking Patterns - Raising Champions
Just wanted to tell you I made 4 of these beautiful stockings and it was my first sewing project ever so I was a little nervous about messing up BUT I didnt thanks to your great tutorial! And they turned out beautiful! I monogramed initials on the burlap and couldn’t be happier with the result! Thanks so so much! You are awesome!
Wonderful! I’m so glad it helped! I bet the monogram on the stockings looks great!
do you think it would be okay to do this without the inner lining? (just the burlap)
Yes but make sure to fold the stocking top under and sew it closed!
Pingback: DIY Ornaments: Mini Wall Hangings | Wills CasaWills Casa
I’ll be attempting this tonight! It’s my and husband’s first married Christmas together and I think these would be a great addition to our mantle. Such a great tutorial, thanks for sharing!
So sweet!!! Merry 1st Christmas! Here’s to many more! Good luck with the stockings!