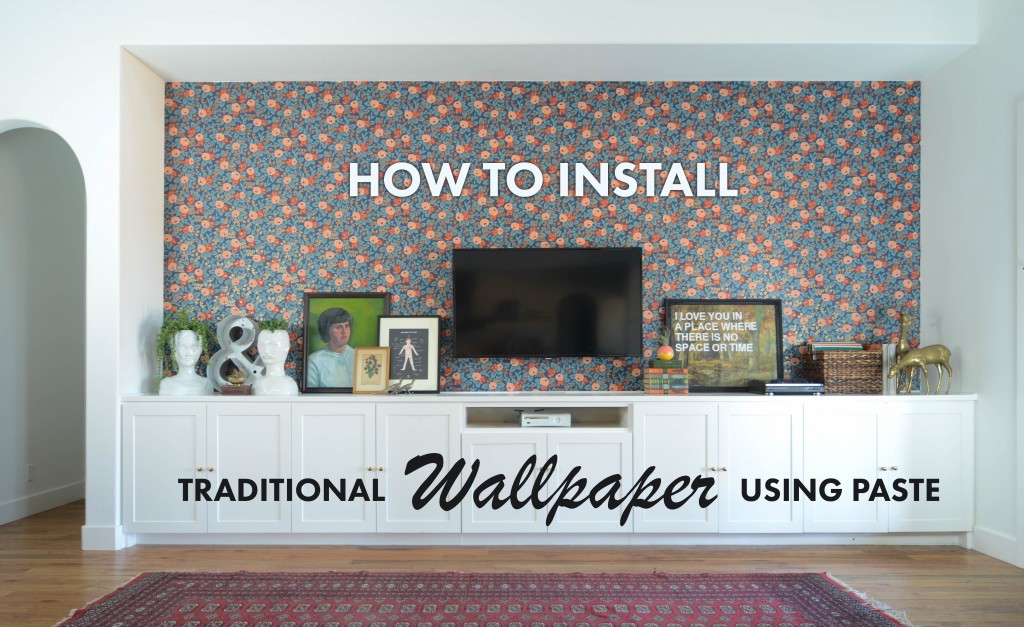
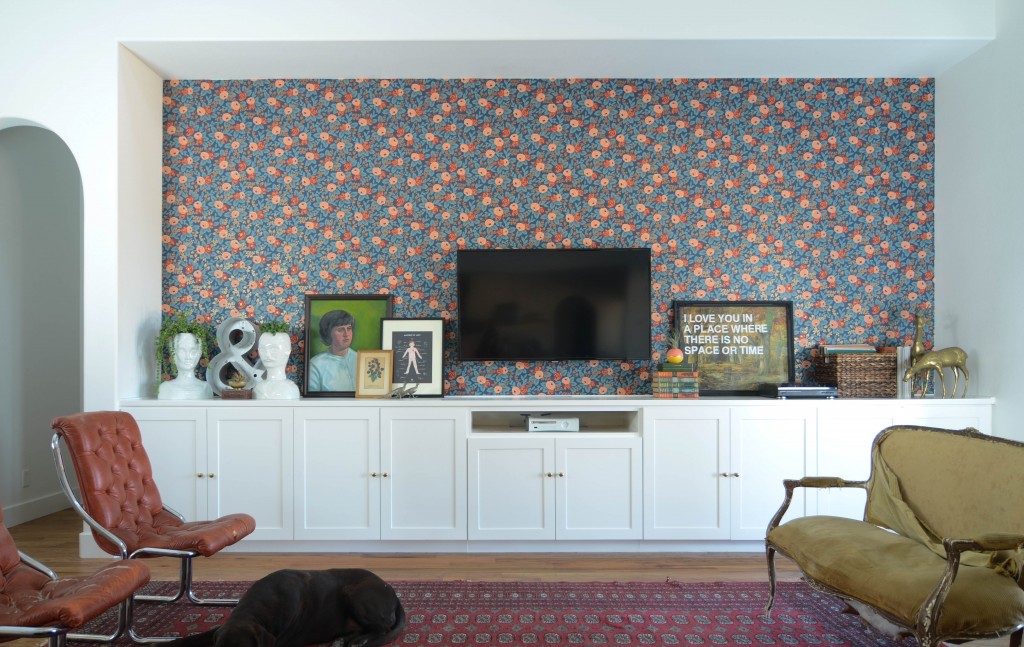
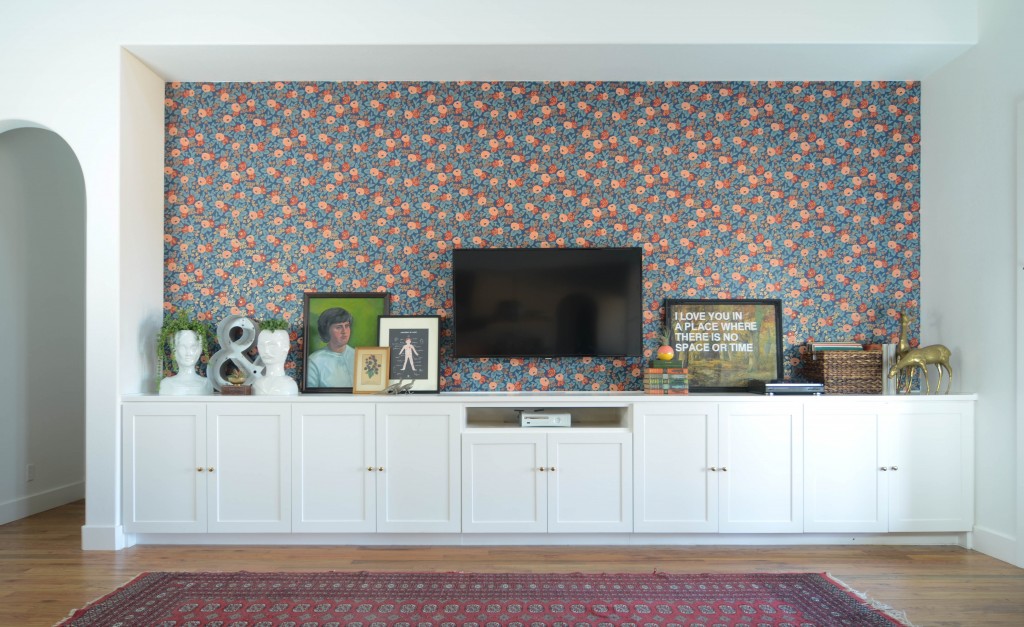
It’s the post you’ve all been waiting for – the big reveal of our wallpaper. We gave you some sneak peeks over a month ago on instagram, but today you get to see it in its finished glory and hear read all about how to install wallpaper using paste.
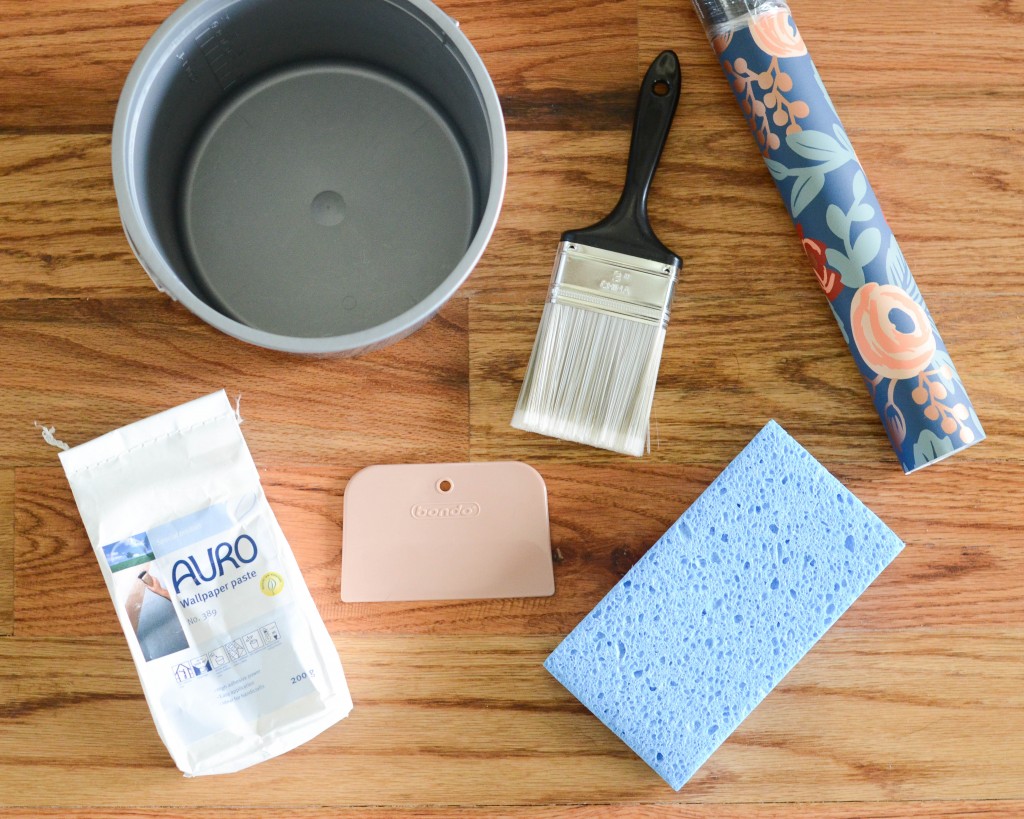
Supplies: wallpaper, wallpaper paste, bondo spreader (affiliate link), brush and roller to apply paste, x-acto knife, sponge, 2 buckets – 1 for the paste and 1 for water
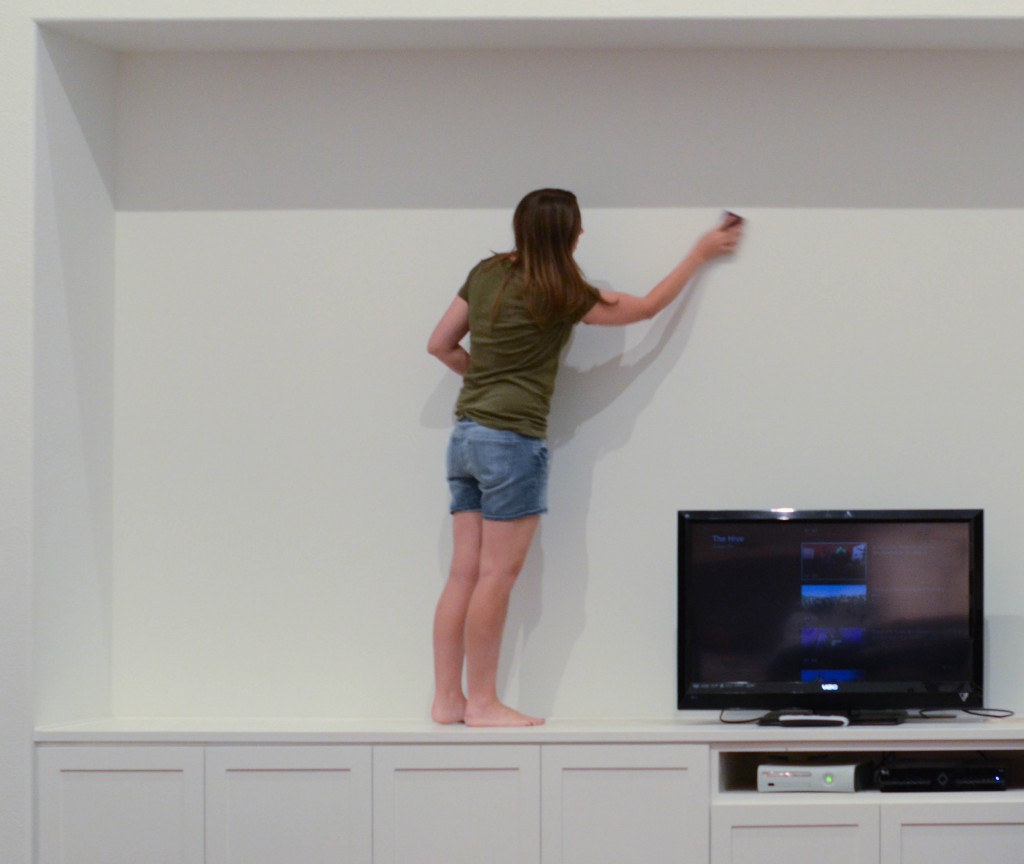 Our wall was prepped because we skipped out on texturizing it when we built. There was some overspray, so I sanded the wall with medium grit sandpaper to get it as smooth as possible. Then wiped down the wall with a microfiber towel.
Draw a plumbline starting at the width of your paper + 1/4″. Measure at the bottom then have the line run perfectly straight up the wall. Walls are rarely straight, so this will be a perfectly straight vertical reference to hang your first strip.
Cut your first strip by taking the height of the space + 3 inches, so ours was 83″ and we cut 86″ leaving space at the top and bottom to trim excess away. Our wallpaper paste was eco friendly and super awesome. However a word to the wise, read your paste instruction carefully before you start. Ours had to sit for 1 hour before use. We got everything ready to go then just did nothing for an hour waiting for the paste to swell.
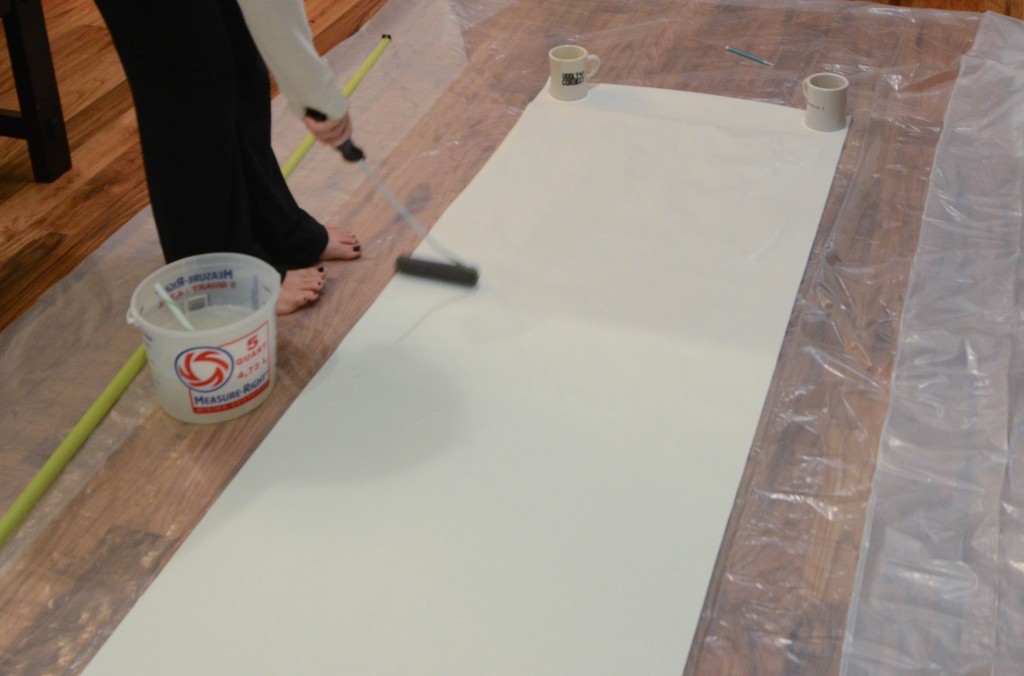
We set up an area in our entry to roll the paste onto the paper. I used a foam roller and a paint brush for the edges. Liberally apply the paste. I found that it was exponentially easier to get the paper up on the wall when I had used lots of paste.
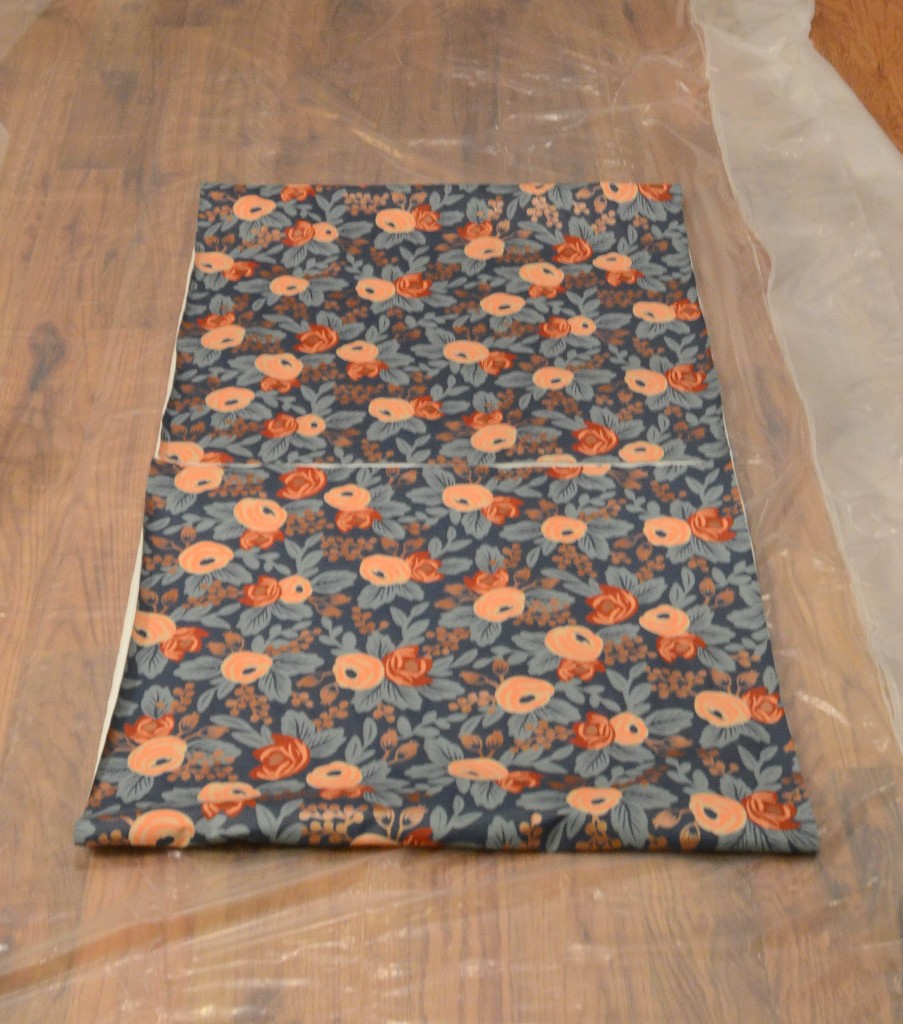
Once your paste is on, you will need to book your paper. Fold top down to the middle; fold the bottom up to the middle. Booked. I pressed the sides down too. It keeps the paste from drying out while we waited the required 5 minutes for the paper to relax.
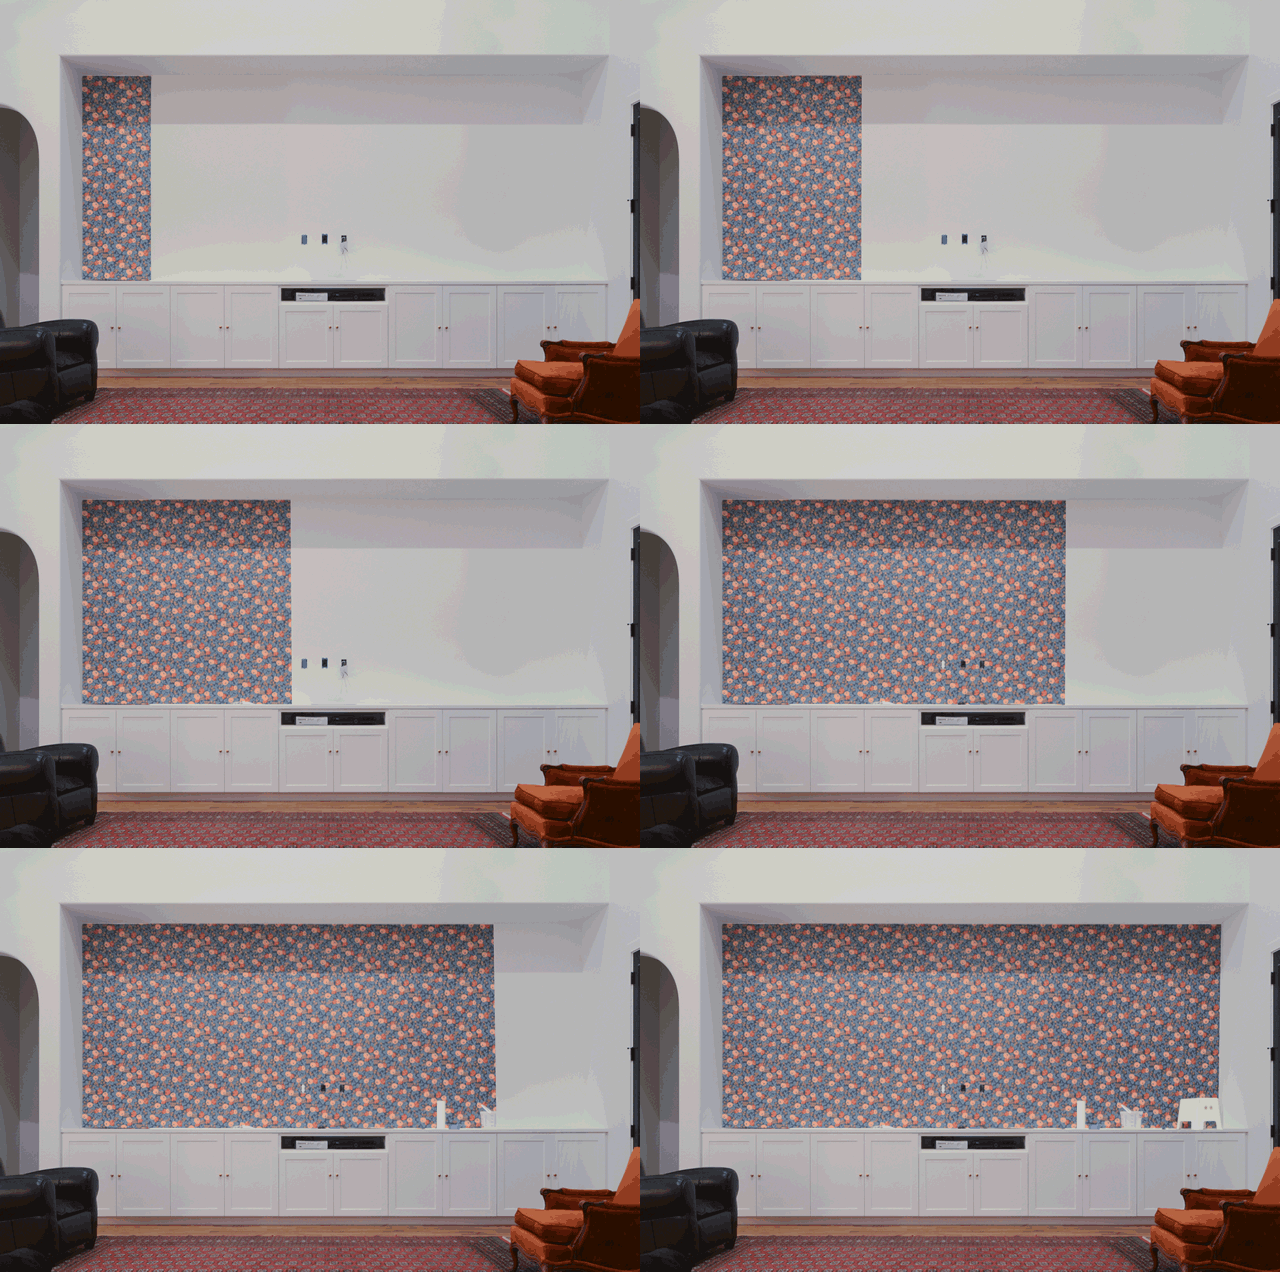
So we wish the installation was as quick as this gif, but it took us 3 nights working into the wee hours of the morning. After you get your first strip up, you need to line up your pattern before cutting your next strip. We lined up the pattern for each subsequent strip then measured 83″ from that point (the height of our wall) and added 1.5″ to that for excess to trim at the bottom.
Use the bondo spreader to smooth out the paper. I had the most success starting at the center of the strip and pushing the paper down and to the side. Center down to the left. Center down to the right. Repeat. A million times. Smoothing that paper on the wall.
Our wallpaper is hand printed, so it killed the perfectionist in me when it didn’t line up exactly right. I kept thinking there has to be something wrong, but there wasn’t. In fact what seemed so glaringly off while we were installing wasn’t even noticeable the next morning.
Use the sponge to wipe down your paper twice. Get that glue off. I was really sloppy with my glue because it makes the biggest difference in how manageable your paper is. I just wiped it down really well, and it was perfect. It’s amazing how durable the paper and the printing are.
I used the bondo spreader and an x-acto knife to trim the paper. I held the spreader at the cutting point and sliced along the line. It was easier to trim when the paper was wet. However if you let it dry, it’s not impossible to trim it then either.
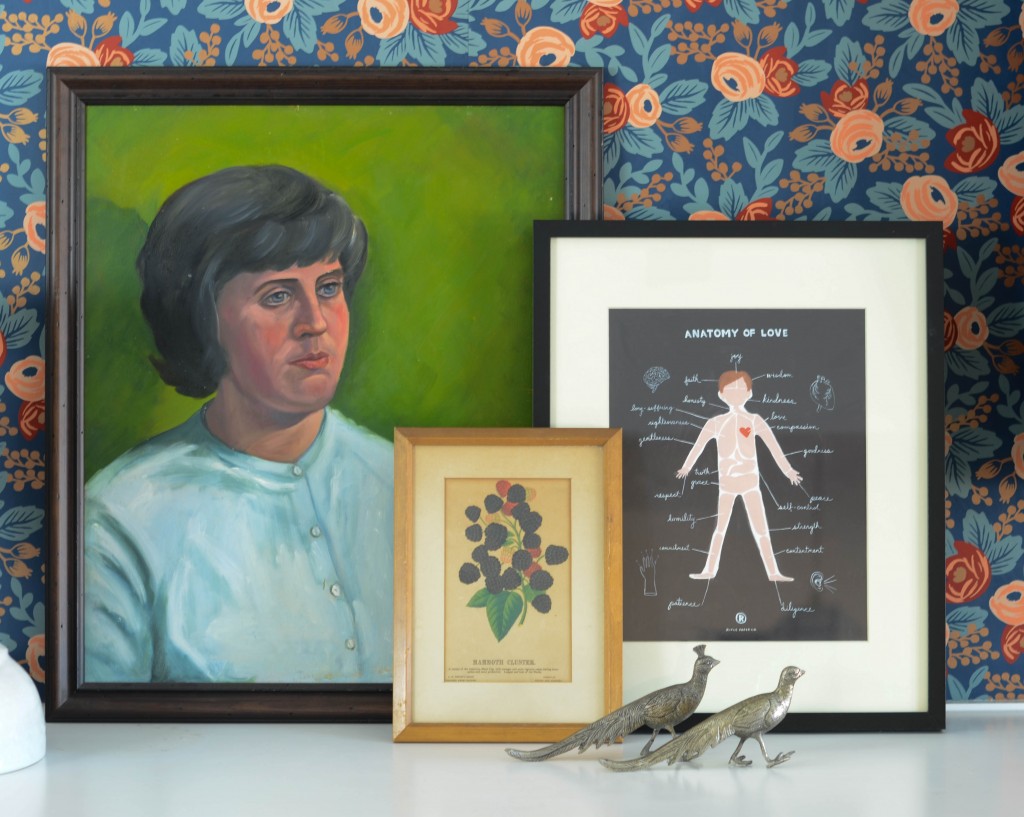
How cute are these peacocks? My friend Nichole gave them to me for my birthday. Making 30 suck less. Phyllis approves too. Also we have a little bit of Rifle Paper layering happening here.
We aren’t finishing the room up yet. I promised Ramona that I would do her room after the nursery, so she was a little upset we even hung the wallpaper (offset only by the fact we picked the one she wanted). However I moved in 2 of my upholstery projects and I’m liking what’s happening in my head with this. Again not talking details with you, but it’s 98% set in my head and 100% not going to happen this year. Here’s looking at you 2015.
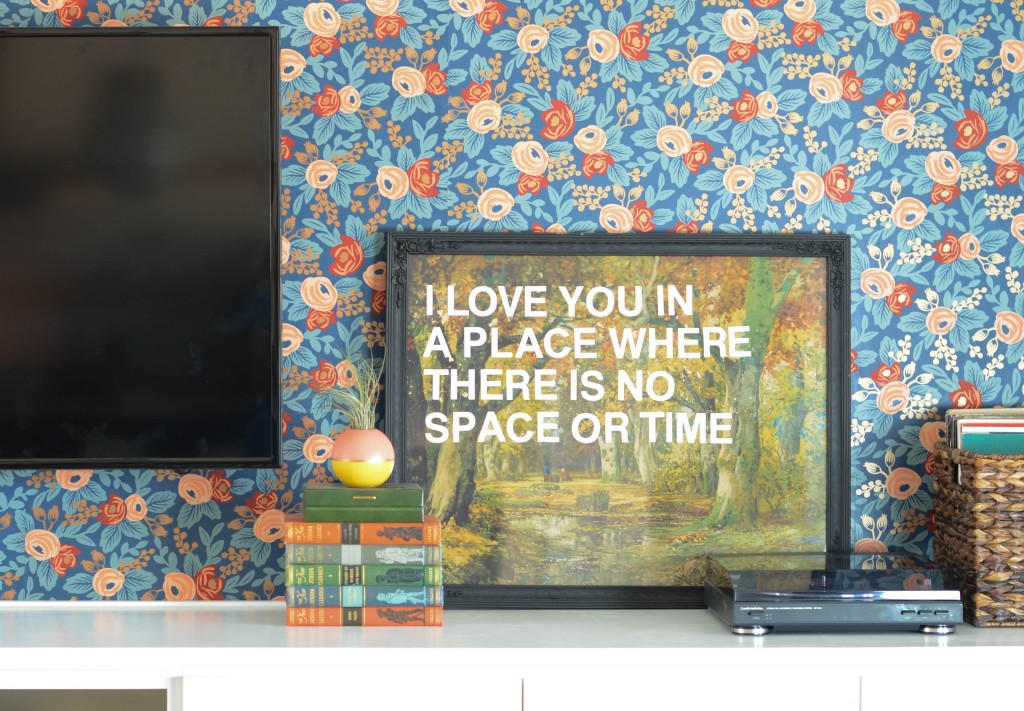
I won’t commit to hanging anything on my newly wallpaper wall either. We need large art in here and lots of it, but for right now we are sticking to a few things stacked and leaning. Nick’s DIY vintage art mod is very appropriately sitting next to the record player. The wallpaper really is art, so we are enjoying that until we are ready to officially tackle this space.
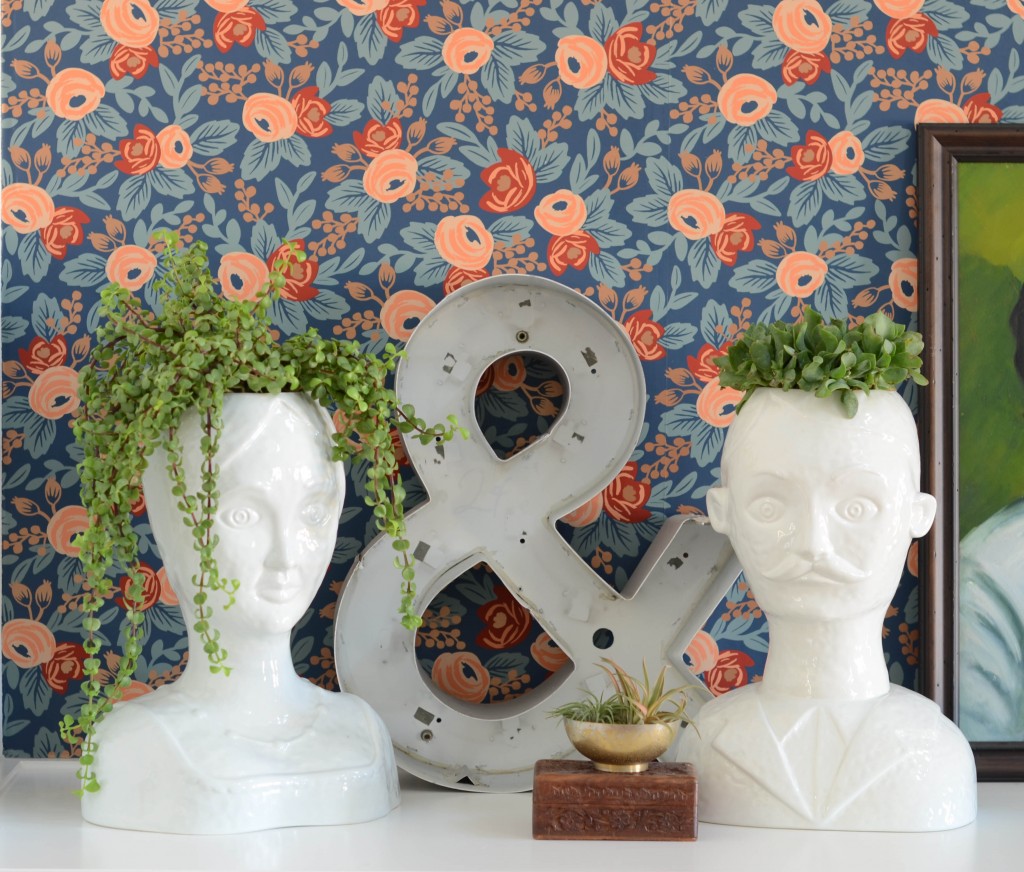
Our anniversary vases are finally unboxed after over a year of neglect. This will shock you all, but I’ve actually kept these plants alive for over a month!! It’s a new record. Something green has not only survived but appears to have actually grown at Wills Casa.
We are absolutely in love with the pattern and color. It’s amazing how much it brought the space together even though it’s in a completely mismatched, insanely unfinished space. Remember our dining room, entry, and kitchen are all opened to this living room. The impact this space has had cannot be undersold.
Check out more tutorials for wallpaper- hanging pre-pasted wallpaper and hanging textured wallpaper.


Traditional wallpaper using paste?! What is this? Little House on the Prairie?! That’s how the wall mural in Milo and Gus’s room went up, and all I can say is that it’s good that’s there no perfectionist in ME. Yours looks amazing–I’m super impressed with your wallpaper hanging and your wallpaper choice
Haha we are on an acre so basically yes we are Little House on the Prairie. I’m not going to lie I’m totally impressed with my wallpaper skills too. I only used Nick for his muscle in holding it when we first put a strip on the wall and his coffee making abilities.
I agree with your idea that the wallpaper is art in itself. It’s beautiful! Thanks for the tutorial – whatever you think is “off” about your installation is totally not noticeable. Especially since the wallpaper is hand-printed (!) – so cool. What a great accent/feature wall!
The vines wouldn’t line up completely perfectly at some parts, but you honestly can’t tell just looking at the wall. The seams just sort of disappear. I’m not sure if it’s just because this wallpaper has so much movement to it and it’s dark, but it looks pretty perfect.
It looks so good! But you knew that. But seriously. So good. And now I want that anatomy print. I also suddenly feel like I can wallpaper my powder room even though Nate tells me it’s a bad idea. You all are bad influences. Or is it good influences?
Good. It’s good influences. Don’t listen to Nate. He is in fact a bad influence and should have less say in what happens in his powder room than I do. Seriously you can do it. It isn’t that bad, and I bet you like it long enough for the entire project to be worth it. Maybe even longer. Although I love the stencil in there now, so I wouldn’t be sad if you didn’t wallpaper.
Yooooou guuuuuuys!!!! It is TOO good. Too good. So cruel to make everybody wait six years to see the finished product, but I’ll forgive you because the now is so fab. SO fab.
Okay 6 years now you’re just being dramatic. We were doing good to not make you wait 6 months. Baby steps Kelly. We aren’t real bloggers remember!
EEK! i am in love. i want to come pet your walls. all it’s missing it the cassie portrait with the following eyes.
Phyllis is just a stand in until my Cassie portrait comes.
Love love love!!! SO good
Thank you! I’d like to take credit, but we all know it’s the wallpaper.
It looks so great! Well worth the wait and the work you guys put into it! I just have to say that after that furniture photo though, my attention was entirely captured by those tufted leather (?) and chrome chairs… Gorgeous!
Yes those are insane. We bought them during the build and moved them directly into our storage unit. I’ve always wanted them in the living room, but the colors and fabric choice keeps changing. It’s slightly more set now with the rest of the plan for in here. Now to find the perfect shade and at a reasonable price…
That looks so insanely beautiful Amber. WOW!!! Your wall is stunning and I can’t wait to see it in real life I love your arrangement of leaning and stacked art. I can tell Phyllis has the hots for mr. Anatomy and rightfully so. And oh how I have missed mr. and mrs. planter heads. So glad they are out of storage. I have been wondering where they might turn up. Love everything you guys did and what an awesome tutorial as well!! Thanks for the link love at the bottom too
  BFF!
BFF!
Thank you Katja! My mom said it looks better in real life, so I’m excited for you to experience that as well! Of course I had to link to your tutorial, you explained everything much better. We got no in process shots because we didn’t want to move the camera from the tripod and miss the gif opportunity. Sounds like we need another camera around here.
It turned out beautifully! LOVE!
Thanks Anu! It’s so bold, but there’s so much white and openness around here it works.
This looks beautiful! Not that I’m surprised. Everything you touch turns to gold.
Haha thanks Kim! I really can’t take credit for how awesome this is because it’s the wallpaper’s fault.
Oh it looks fantastic! Messy work, right? But not nearly as bad as I expected it to be. I’ve only ever done paste-the-wall papers but I totally remember my dad booking the paper like that
Yeah I expected it to be worse, but then again it’s been up over a month so I might be having one of those childbirth memories. You know forgetting how awful it is because the outcome is so wonderful. Seriously though it wasn’t that bad especially once you get the hang of it. I could wallpaper the rest of the house no problem. Ha!
I feel so validated by how very, very good that paper looks in the space. Told ya so! And I went back and looked at the other choices again…none of them could possibly have measured up to this result.
I replaced wallpaper in our last house in Arlington, back in 1987, and swore I’d never do it again. Then a few years later a friend begged me to help her redo a 5×5 powder room, complete with papered ceiling! It took both of us plus her quite tall husband squeezed into that tiny space to get the paper to stick to the ceiling. And it was a Waverly trellis pattern that was simply awful to match on walls that had no straight corners anywhere.
I’m so glad my current house is not a wallpaper sort of house. I’ll just enjoy looking at your nice little bit of pretty paper.
Oh my gosh I couldn’t even imagine wallpapering a ceiling. I’ve seen it done and it looks incredible, but my arms ache just thinking about it!! You are completely validated in your choice!! It really was the perfect amount of color and pattern for in here.
The peacocks are oh sooooo handsome up there (not that I am biased or anything):) The wallpaper is phenomenal!!! This was such a lage space to decorate without overwhelming the rest of the room and you guys did a fabulous job (of course).
They are happy in their new home! I cannot lie. The wallpaper was such a great choice for in here.
It looks fantastic! You make me feel like I could wallpaper… maybe. Ok maybe not. But you still did an excellent job!
Oh you definitely could!
Pingback: Walk-in Closet Makeover - Cuckoo4Design
I cannot believe I have never commented on this post! It must have been in my hiatus days. I have probably read this post about 100 times. I am getting ready to do rifle paper co wallpaper in the new nursery tomorrow. I’m terrified. Wallpaper is so scary to me. I hope mine looks even half amazing as yours. Fingers crossed so hard right now. Thanks for teaching me the ways
Haha it’s really easy once you get the hang (har har) of it. You’ll forget how terrible hanging it was once it’s up. You’ll be so in love. Childbirth syndrome applied to wallpaper hanging. Good luck friend. Let me know if you need help!
Pingback: Pineapple Sorbet Wallpaper Nursery (Hygge & West-Rifle Paper Co) | Interiors by Kenz