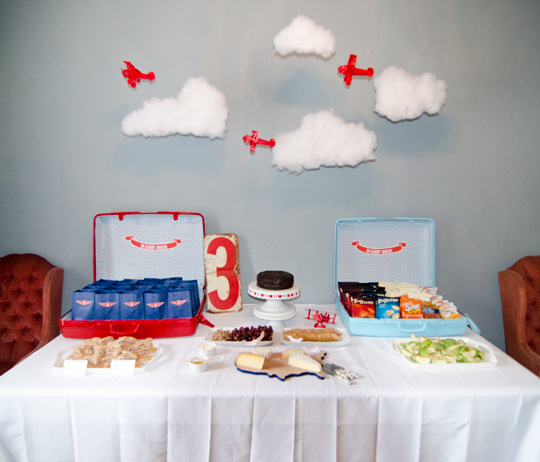
As promised I am going to share the little details about putting the party table together. I think the food table causes me the most stress every year. It’s the one piece that has to be done the day of the party. In fact you have to pull it together just before guests arrive.
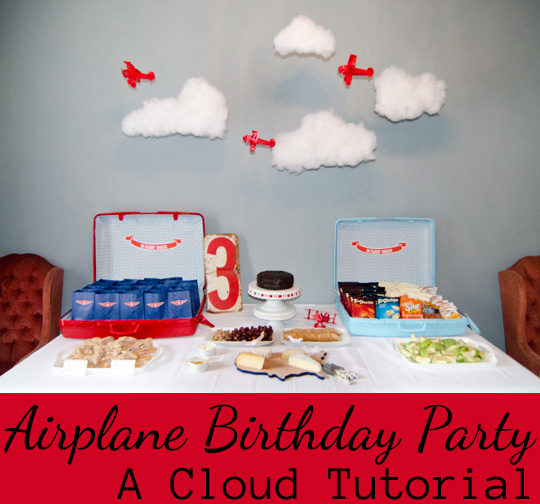
Let’s start with the hanging decorations then make our way down to the table scape.
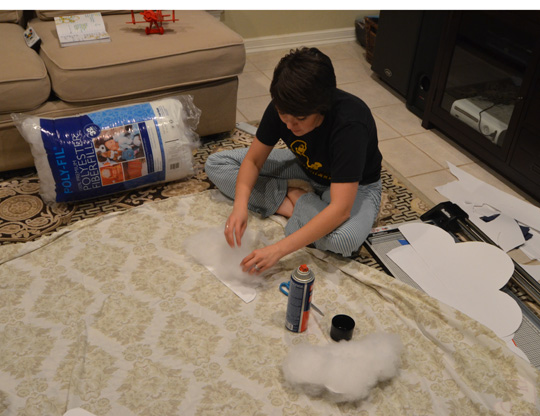
First recruit your best friend who is also super crafter (and her husband too) the night before the party (PJs required). Then let the cloud making chaos begin. I wanted to make a less complicated (read lazier) but equally awesome version of this cloud.
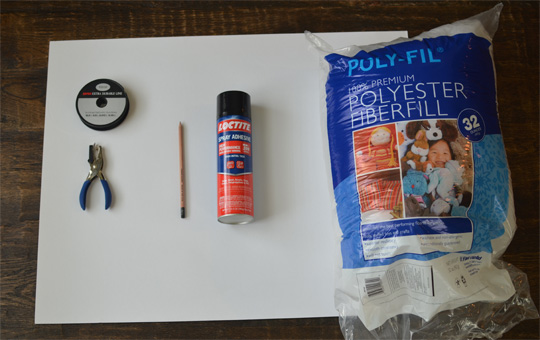
Supplies:
– Poster board
– Spray Adhesive (my new favorite thing)
– Poly-fil (basically pillow stuffing)
– Hole punch and fishing line (only if you are going to hang the cloud)
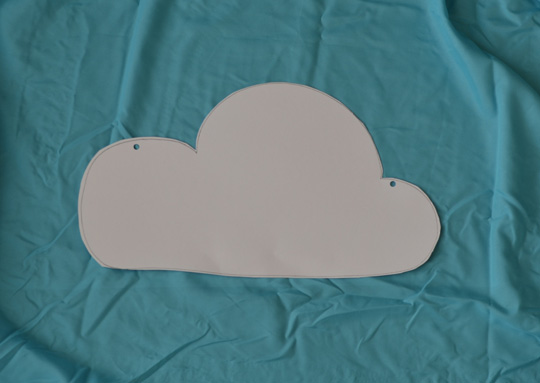
Sketch out a cloud. No need to be exact. Clouds never are. If you are going to hang it from the ceiling, punch the holes into it now. You will need to punch holes on both sides or your cloud will spin once it’s hung.
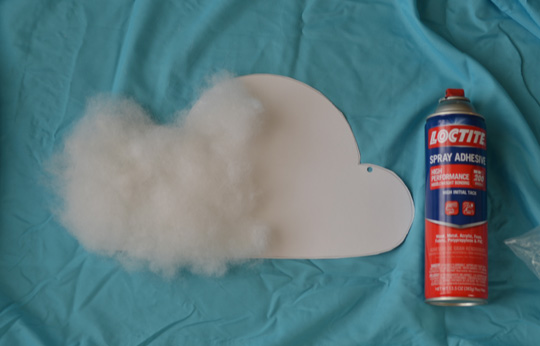
Spray the adhesive on the cloud and the poly-fil on it. I pulled the poly-fil off in clumps to make it lumpy like a real cloud. There are several advantages of using the poly-fil over cotton balls. Mainly it’s easier and quicker to use. Plus the texture and the fact that it’s slightly gray make the cloud seem more realistic.
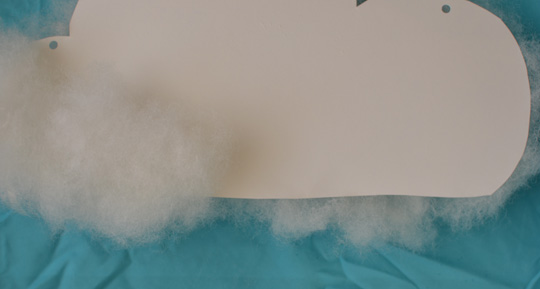
Flip it over and attach poly-fil to the back. If you are hanging it, I recommend this step. It looks fuller. If you are stapling it on the wall, skip it. I made sure I had some poly-fil over lap the bottom. It conceals the poster board a little and makes it realistic and fluffy.
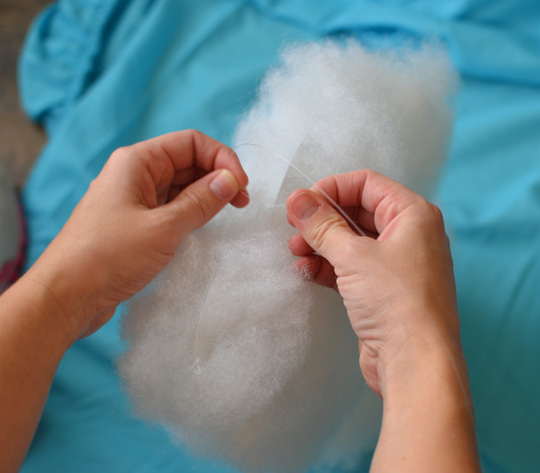
Tie your fishing line through your punched hole. I knotted it a few times just for good measure. Ta-da, they are done and ready to hang.

We stapled the fishing line to the ceiling and triple knotted the line before cutting it. Last year I hung poms poms from the ceiling and they kept falling, so lesson learned.
We bought airplane puzzles and assembled them (yuck but they were only $4). I spray painted them red and hung them in the clouds.
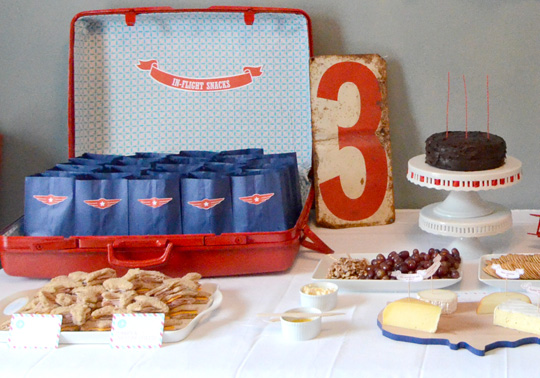
I bought 2 suitcases for our in-flight snacks and spray painted them in our party colors – red and teal. I lined them in Michael Miller’s Stitch Petal fabric. I used spray adhesive and a hot glue gun to attach the fabric. Just fold the fabric under at the edge and glue. Then spray and smooth the fabric onto the suitcase. It’s super easy and a great way to customize such a huge statement piece on the table.
Our sandwiches were little airplanes cut via a cookie cutter. It just so happened that the Curiosity Shop’s line at Target included a cutting board in the shape of the USA. Perfect for our cheese plate.
We have actually had the metal 3 for a long time. I’ve secretly been counting the days until I could use it for Ramona’s birthday. Double win that it was also red!


I love all these ideas. Those clouds are terrific with the little red planes and I really like the blue treat bags with the wings on it. Love everything!! The metal three is awesome
Thank you! I had been waiting to use that metal 3 for her birthday. We bought it when Ramona was a baby. I didn’t think the day would come so quickly!
Hi,
This is very nice work!
May I translate the article(s) to Russian and publish it on the Russian site about needlework?
You will be specified as the Author of the article and link to this page will be published.
With best regards,
Paul
Sure! Post a link here when it’s published. Thanks!
This is absolutely gorgeous!! I wish you could come decorate for my next party
Thank you! I am totally mailing in this years birthday party since we won’t have a house and there will be a new baby, but I will miss all the craziness in the prep and planning though.
Oh my goodness. This is oh so cute. Love how you use luggages to put the snacks in. Brilliant idea.
OMGness I absolutely LOVEEEEE you guys ideas!! My son will be 6 and he wants to be a pilot so we are having him flight BDP Thank You both so much for the inspiration!
Did you check out the free printables? Those are a life saver! Good luck with your party!