Today’s post is sponsored by The Home Depot, but all creativity and opinions are my own.
It’s spring y’all! Or like it was for all of winter here in Texas. Then it was super cold over Spring Break. I don’t even care because Easter is next week, so let’s get all pastel-y and Spring-ish. I partnered with The Home Depot and some incredible bloggers to put our own spin on a wooden door mat as part of their DIY Workshops.
I went to Home Depot with both kids in tow because I’m crazy I was so ready to add a little spring along with some organization to our garage. I was thinking maybe it might kick me into high gear for the season like the Christmas wreath trio did.
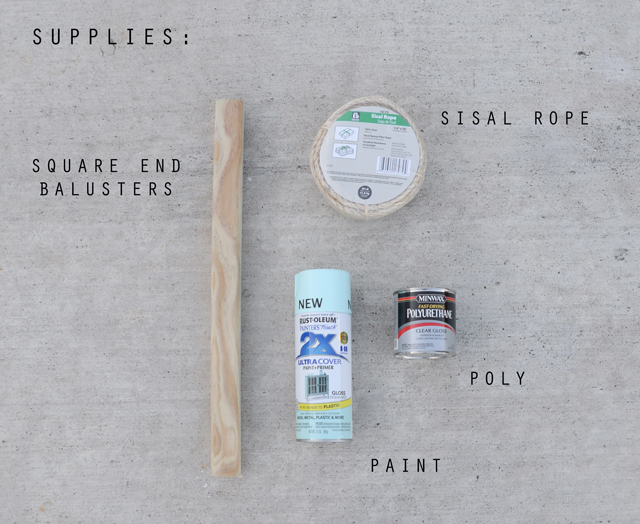
I got 8 – 36″ x 2″ x 2″ Square End Balusters which I had a Home Depot employee cut in half for me. Great option for those of you short on time or terrified of power tools. You can still pull this project off easily! This gave me sixteen 18″ square end balusters.
Pick up a spool of 1/4″ x 50′ Sisal rope along with paint, stain, and poly of your liking. Mine is Rust-oleum Ocean Mist. I wanted a mint and natural wood look for my wooden mat. Something that screams Spring. Start your garden. Go do some yard work. All of those things.
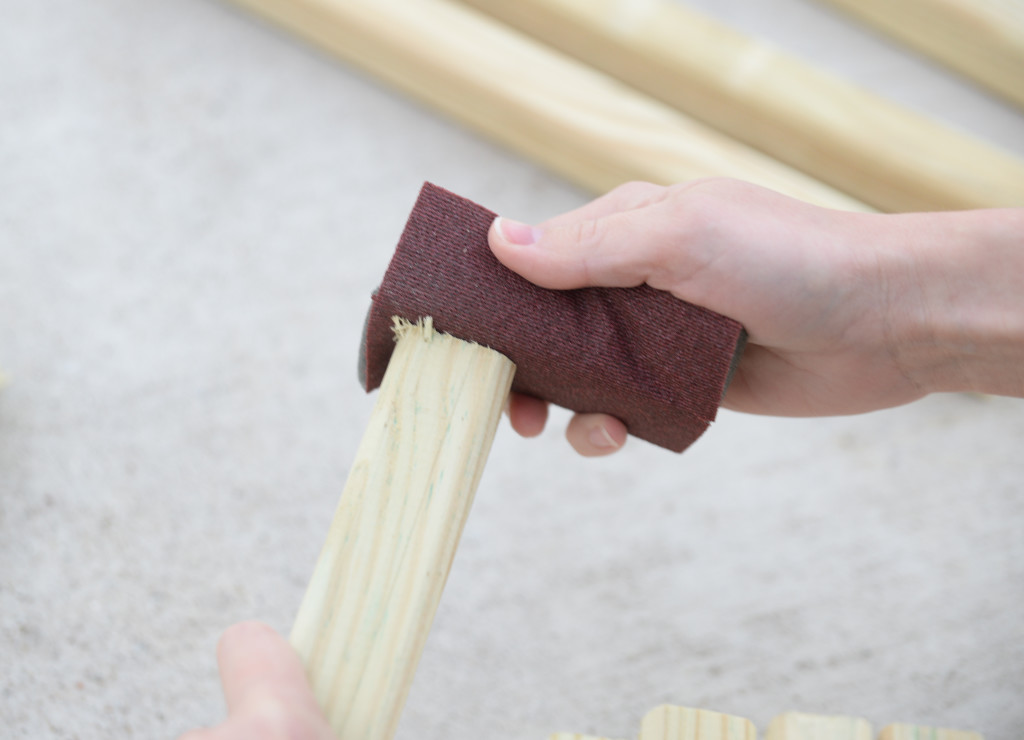
I needed to sand down the rough ends from the cuts. Make sure to get some sandpaper too!
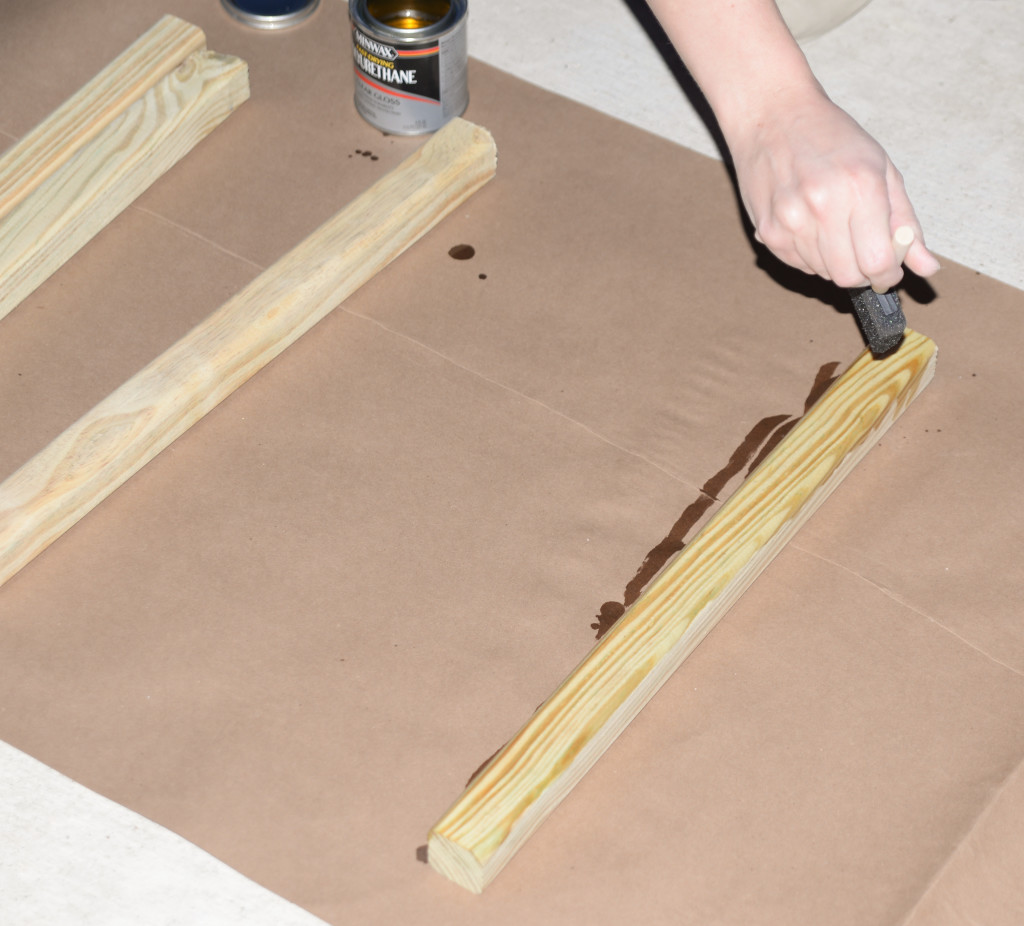
The square end balusters had a nice blonde wood tone to them, so I decided not to stain them. I brushed on two clear coats of polyurethane to protect the wood on 8 of them while I spray painted the other 8 wood slats.
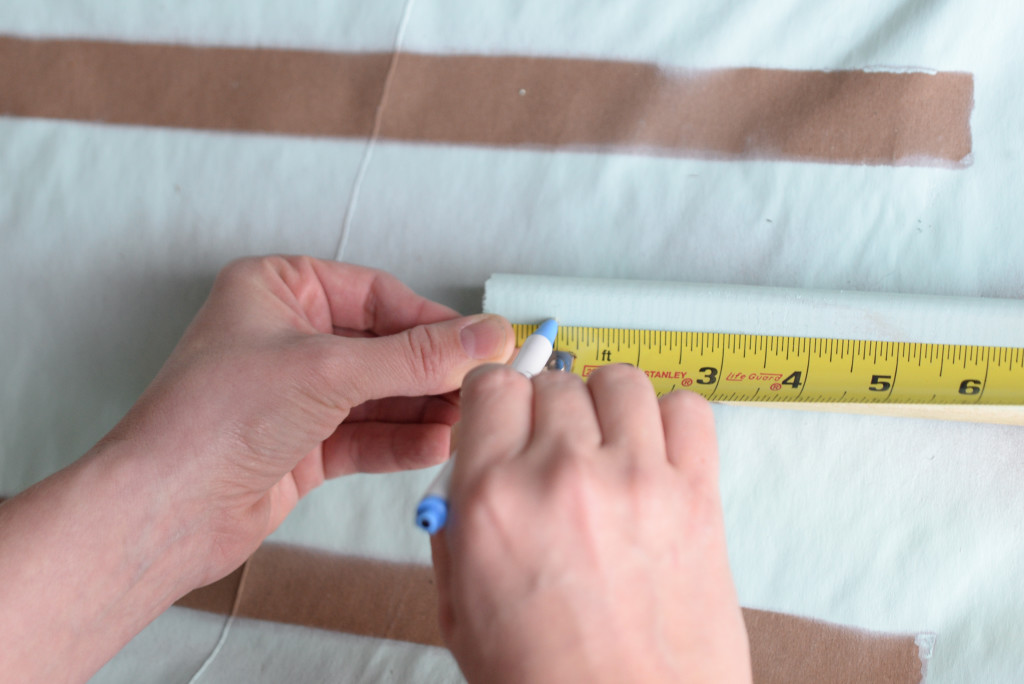
Once the wood was dry (about 24 hours), I measured 1″ on each end of the blusters and marked them.
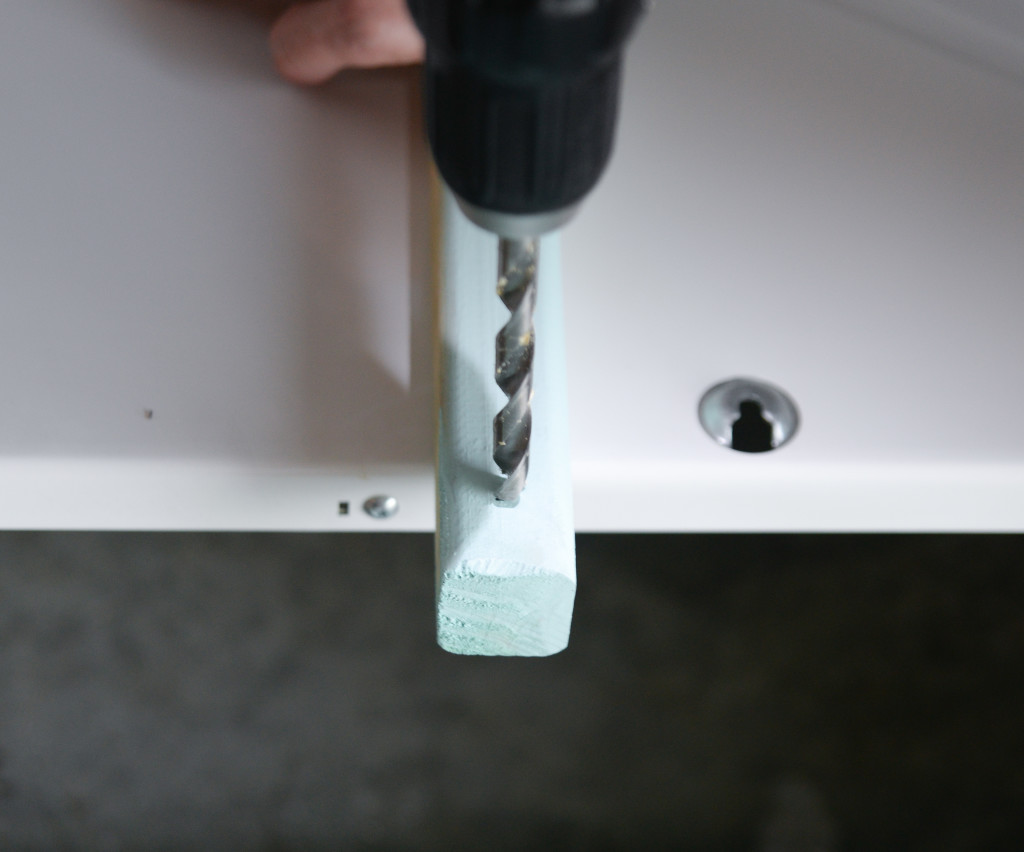
Use a 3/8″ drill bit to drill holes in the blusters at each end where its marked. Make sure to center the bit on the bluster at that 1″ mark.
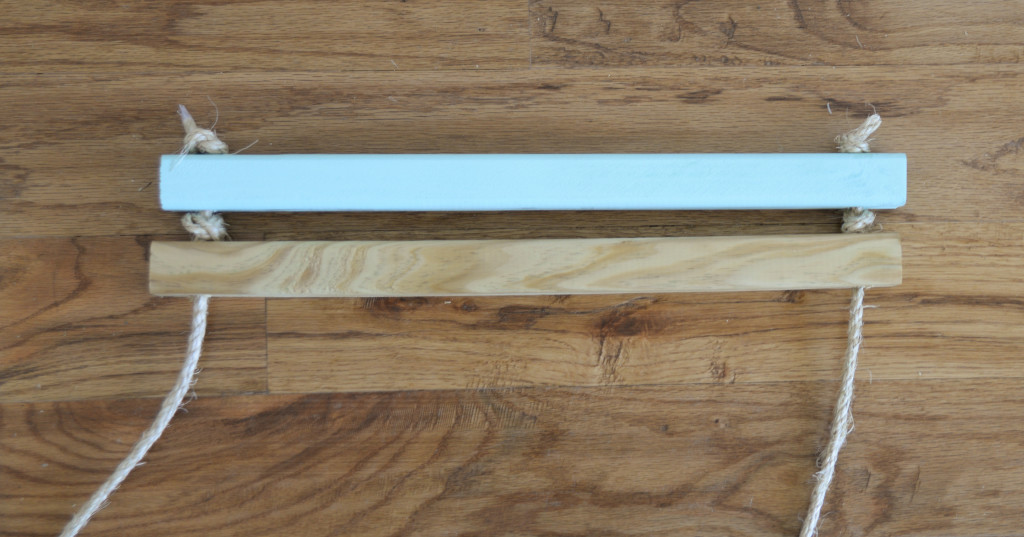
Cut the sisal rope to 80″ long. Thread it through the hole in the bluster and tie a knot on each side. Continue threading the blusters and tying between each. I did each side simultaneously.
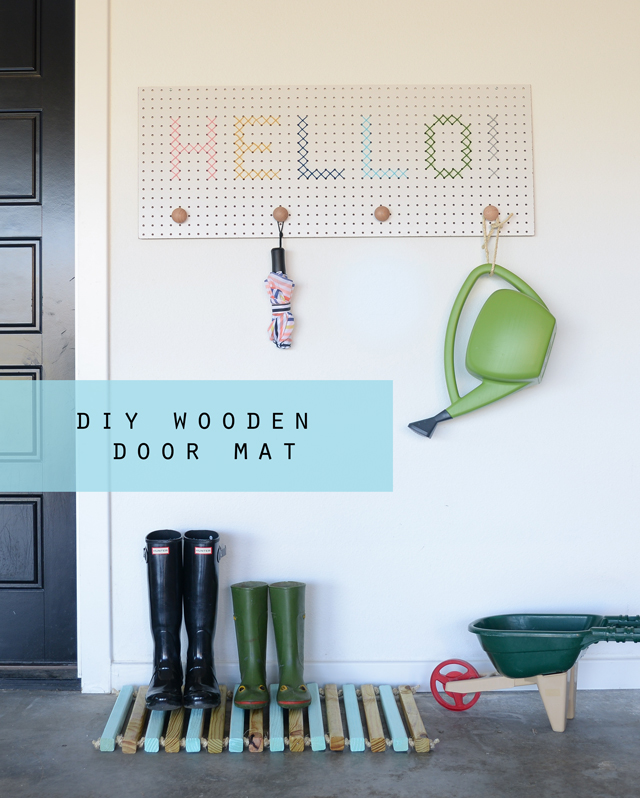
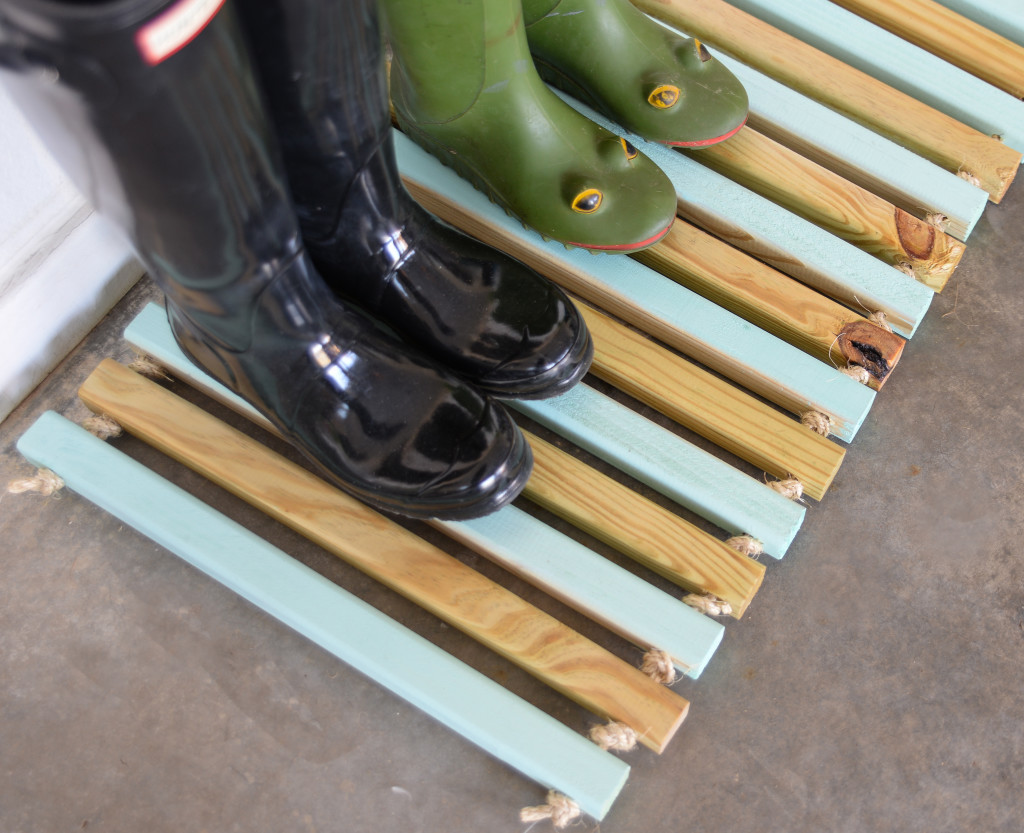
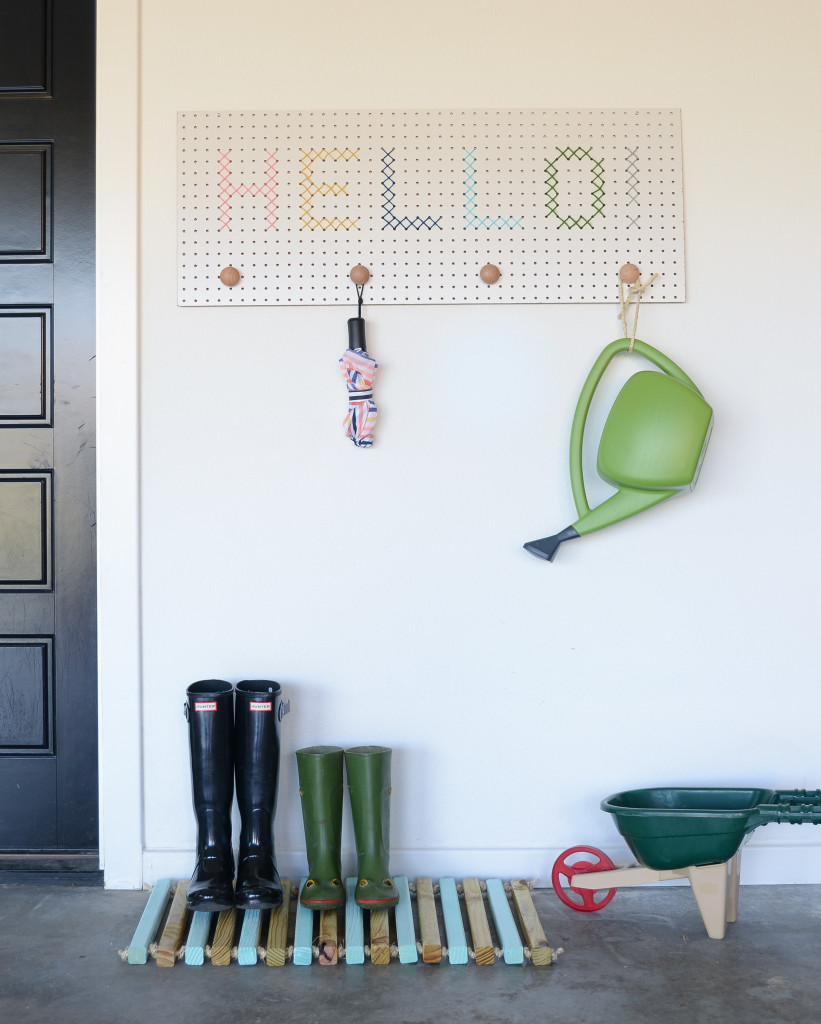
Ta-da! It’s that simple! I went ahead and put rain boots on it because they are so bulky for indoors. Plus you don’t want to wear them inside after you’ve been in the rain. Also I already confessed this whole area was a spring theme with the mint and natural wood door mat what says spring more than rain boots on a mint door mat??
The Home Depot is hosting a DIY Workshop to make one of these wooden door mat at all of their locations.
You can register here.
The Home Depot offers Workshops at all of their locations for all ages and experience levels that gives you step by step instruction to complete the project and learn some new DIY skills along the way. There are three types of Workshops offered – Do-It-Yourself (DIY), Do-It-Herself (DIH) and Kids. Check out a local workshop to learn more.
I also made the HELLO peg board a few years ago. I got the peg board from The Home Depot…and I had them cut it for me there! It finally has a home and conveniently goes with my new wooden doormat.
Go check out these other incredible wooden door mats from these amazing bloggers!
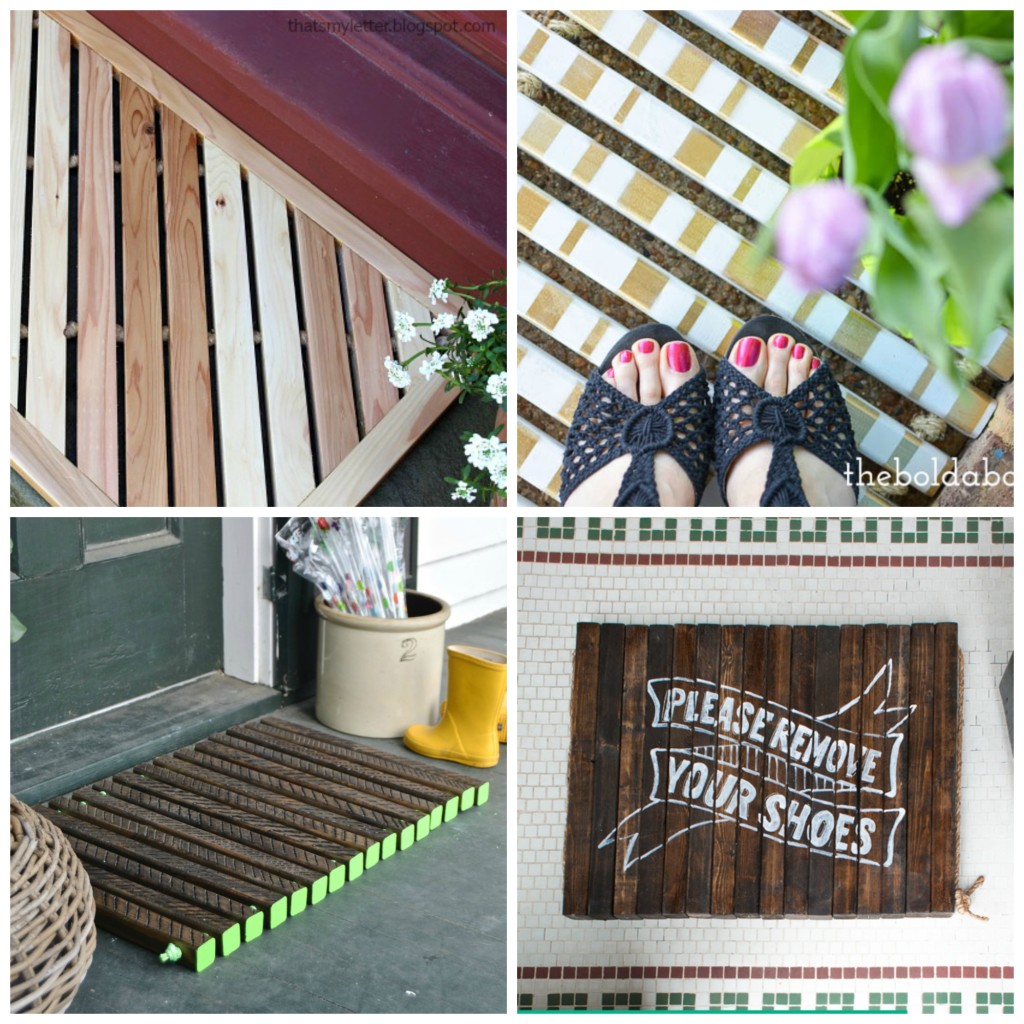 That’s My Letter / The Bold Abode / Ciburbanity / Brooklyn Limestone
House of Wood / Shades of Blue Interiors / Place of My Taste / Bower Power Blog
Making Home Base / Build Basic / Sawdust 2 Stitches / My Love 2 Create
Her Toolbelt / Addicted 2 DIY / Fix This Build That / Glued N Screwed
Build It, Craft It, Love It / DIY Huntress / Sawdust To Sequins / Remodelando La Casa
The Batchelor Way / The Kim Six Fix / Heathered Nest / Creatively Living


I absolutely LOVE this door mat What a great look. The one I made is sort of flimsy by comparison using 1x2s, I should have totally used balusters. What a great idea
  Love how yours looks with the sign and your styling is superb of course
Thanks Katja! I finally found a place for that sign!! The balusters were only $1 a piece too, so after the cuts were made each slat cost 50 cents! Not bad!
Super cute! I love that it would work outdoors too. Messy footwear is the worst.
I thought about making one for the front door, but it would have needed to be wider to fit the double door. I was worried I would have to make it longer too. Then it would be heavy. After I made it, I put it at the front to see how it would look. If I would have made it wider, the length wouldn’t have been a problem at all. Kinda kicked myself for that, but I can always go back and modify this one!
I dont know if I love the mat or the cross stitch peg board more. Awesome and accessible tutorial!
Thank you Jenny! It was one of those projects that looks easier and when you do it you realize it was even easier than you thought! A great attribute to a project because generally things are much more difficult than I anticipate!
This is so fantastic and inspiring me to clean up our garage a bit!
Well just don’t look anywhere behind the camera in our garage! 😉
Love the mint! And the hello sign. Everything’s looking so friendly in there!
Oddly enough most people walk through our garage when they come over, so it’s not this is all just for me! 😉
So clever!
Thanks Tamsyn! This whole area looks like a color scheme you could rock! 😉
It looks like it was born to be in that garage….oh wait.
Amazing. Just perfect with that sign
xo – kb
Yes it has to offset those black doors…and like the rest of the cluttered mess in there!
Great, simple write up. I need some brevity lessons from you And I still love those frog boots!
Confession: I texted a neighbor to see if she had some rain boot I could borrow to offset my black ones. I mean I totally lucked out with having a neighbor with cute frog rain boots!
You seriously couldn’t have picked a better color! I LOVE IT!
Thanks! It is a great color! I’ve been looking around my house imagining all sorts of things I could spray paint with Ocean Mist. 😉
Love it and the colors you chose!
Thanks Julia!
Love the color you used and c’mon that whole area is just too cute! Love the sign!
Thanks Cristina!
Pingback: Doormat Duo
I just love your mat, Amber! The color with the natural wood is so pretty!
Thanks Jen! There were some really pretty knots in the wood that I was crushing on too!
I love this! It was so fun seeing all the bloggers’ interpretation of it! and I LOVE LOVE LOVE that hello sign!
Thanks Tiffany! I love that sign too and have been trying to figure out where to put it since we moved it!! It’s really long and won’t work in our mudroom or mud hallway really! I’m glad it found a home!
Love the mat. I remember seeing that cross stitch sign in a UK craft magazine a few years back and thinking it would be fun to make one. It looks great in that spot!
Thanks! I’m glad I found a spot for it finally! We’ve just had it in a room upstairs just sitting there!
How does this door mat looks like after 1 year of use? Are the colors still there? Can you give us an update?
Cheers,
Alexander
It has held up well. It sits by the garage door still. It doesn’t get heavy use so that makes a difference.
Pingback: DIY Wooden Doormat | FixThisBuildThat
Pingback: How to make a DIY tribal wooden doormat
Pingback: Doormat Duo - Bower Power