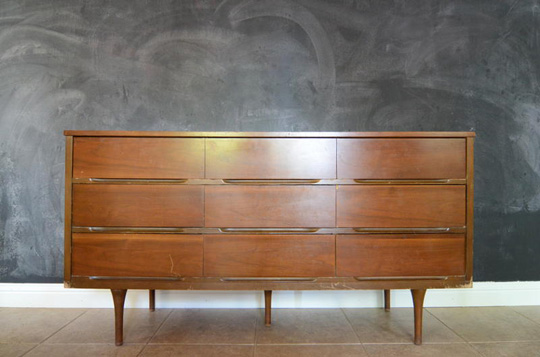
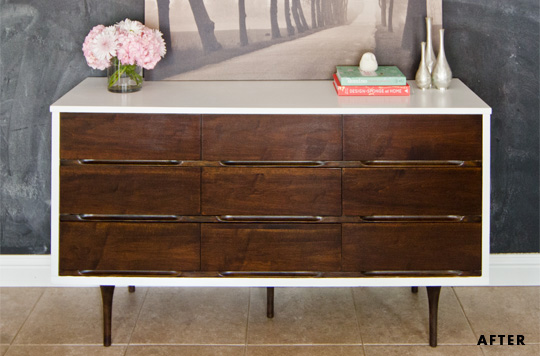
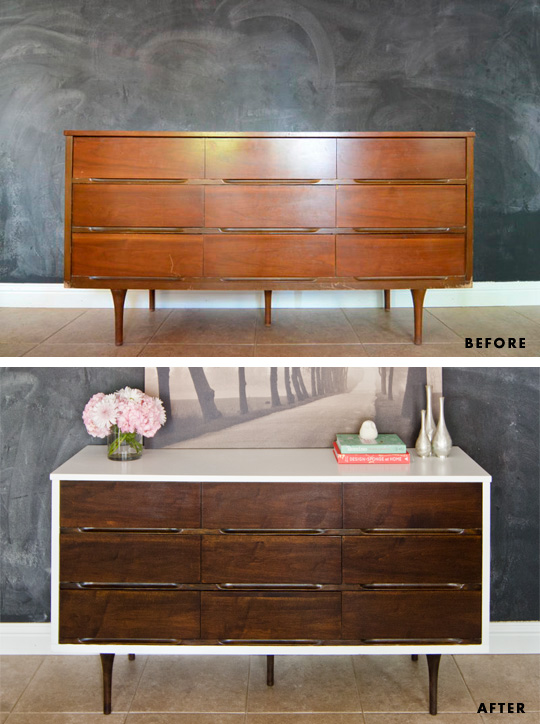
When we picked up this mid century dresser, we knew we wanted to paint the shell white and stain the drawers. I know how to paint furniture (table, chairs, and dresser), but I haven’t stained furniture before. The concept is the same sure. However, the drawers are veneer, so here’s how something simple turned into more DIY than I anticipated.
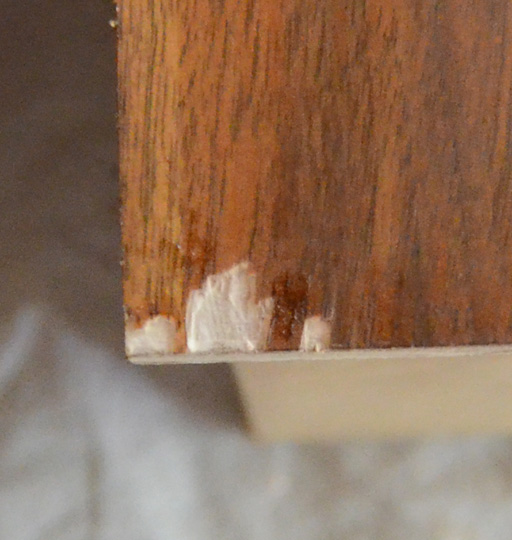
Problem #1: Not all the drawers were chipped, but here’s the worst not terrible as far size of the chips. However, it was chipped down to the particle board. I did some googling to see if I needed something special to repair the veneer. One site said veneer tape would work for corners, but I would have to cut the tape out in the shape of the chip. It seemed a little more tedious than I wanted, but I figured since I didn’t have to do all the drawers I’d check into it. I went to a specialty wood store. They had no idea what I was talking about. (Great.) They said I would need to buy all new veneer to apply to the drawers after I scraped the old veneer off. Um…no I was out for multiple reasons. First, that was way too much work for a few chips especially since it was really only semi-bad in 1. Second, it was going to be $100 for the veneer (technically more than I paid for the piece when you consider I got 2 dresser for $150). I just filled the holes with stainable wood filler.
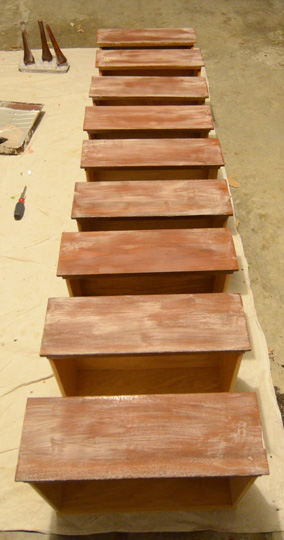
Problem #2: I didn’t want to sand the drawers. The veneer wasn’t Ikea-thin, but I was still uneasy about sanding too much of the veneer off especially now that I knew how expensive it would be to replace the veneer. I bought Citristrip stripping gel (which smells like some kind of orange alcoholic fun time beverage). You just brush it on and 30 minutes later scrape it off.
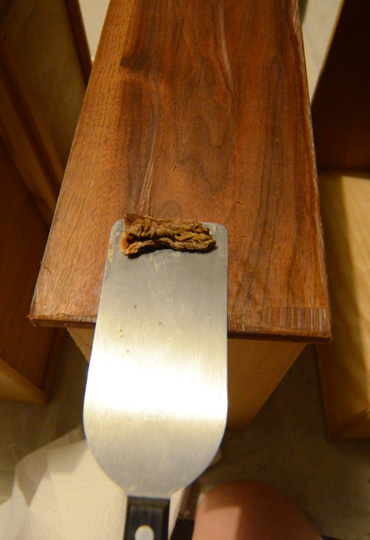
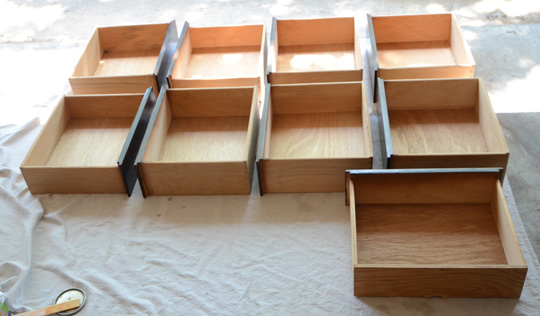
It looked like chocolate icing. It wasn’t easy to scrape off clean either. I would not recommend you using striping gel on curved surfaces. In fact I wouldn’t recommend it at all, but in case you decide to ignore me and do it anyway just trust me and don’t apply it to anything with a curve. After struggling with all 9 drawers for hours, I decided to call it a night and try again in the morning.
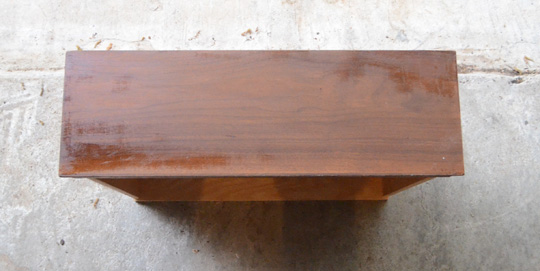
Problem #3: The stripper would not all scrape off. I used mineral spirits to try and rub the stickiness away, but it only half worked. At this point I had lost a full day struggling to rid the drawers of sticky stripper (I know it’s as awful as it sounds in DIYing too). I had to give in…

I sanded the drawers anyway. The drawers had to be even or the stain wouldn’t absorb evenly which of course would look terrible and be a complete disaster. I knew sanding was the only option to achieve an even stain on the drawers. I wish I would have just begun with this. I used 80 grip paper and my Ryobi. I just kept in mind that I needed to get to the bare veneer and STOP.
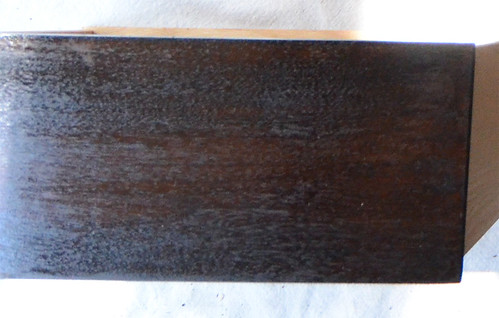
Problem #4: I applied the stain to the bare veneer. I let it cure for a full day. It was sticky. I went to Home Depot to ask if that was typical of stains before you sealed them with polyurethane. The guy said it was sticky because I hadn’t applied the poly yet. Made total sense to me, so I applied my 2nd coat. I waited another full day. I LOVED how rich the stain was, but it was completely sticky now.
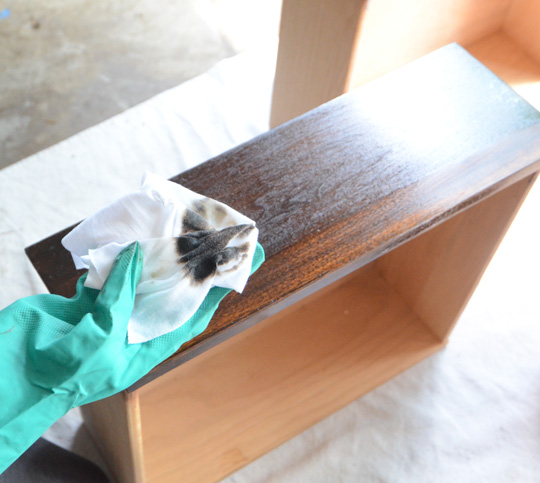
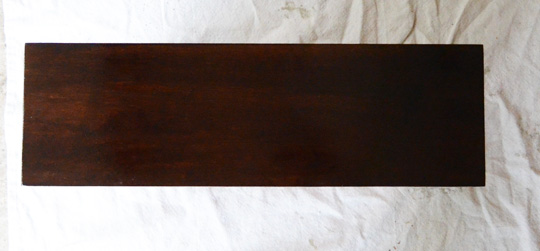
I knew it couldn’t be right. I sanded and knew my prep work was not the issue, so I googled (should have done that first) then called Minwax (yes the pros). Well it was like 90% humidity that week. The first coat wasn’t dry yet, so adding the 2nd coat sent the drawers over the edge. The edge of no return…like I can’t fix it…like I have to start over all over. Technically, I tried using paint thinner to remove the stickiness (the stain) since Minwax recommended that before I started over. I got streaky drawers. That method probably would have been more successful if I didn’t have 2 layers of stain. MORAL: If your stain is sticky, let it dry longer.
I’m all for attempting a DIY and pushing yourself to learn and experiment more. You can do surprisingly more than you think, so challenge yourself. However at this point in the project, I was considering finding a professional. We figured we could sell the other dresser and use that money for the pro. I was frustrated (yes there were tears), but mainly I didn’t want to completely ruin the dresser. Ultimately, I decided to give it 1 more try before hiring someone. I’m glad I did. I’ll share how to stain and paint a veneer dresser (without all the mistakes) later this week!
Anyone else found themselves knee deep in a DIY disaster? Did you stick it out? Or pick another route?
**Update: See how the dresser looks now that it’s finished!










 Mother’s Day 2012 at my parents

















ElseWhere FaceBook | Twitter | Instagram | Pinterest